- From Windows 7 start menu, run “DaRT Recovery Image”.
- Go through the wizard up until you get to the “Additional Files” page. Note: Don’t forget to enable Remote Connections or else starting the Remote Connection tool at startup will have no effect.
- The “Add additional tools” page in the wizard will allow you to customize DaRT to your heart’s content. At this point click the “Show Files…” button.
- Navigate to the WindowsSystem32 directory within this temporary folder
- Modify the “winpeshl.ini” file permission to give “modify” permissions to your current user.
Open the “winpeshl.ini” file and modify the file to look like below:
[LaunchApps]
"%windir%\system32\netstart.exe -network -remount"
"cmd /C start %windir%\system32\RemoteRecovery.exe -nomessage"
"%windir%\system32\WaitForConnection.exe"
"%SYSTEMDRIVE%\sources\recovery\recenv.exe"
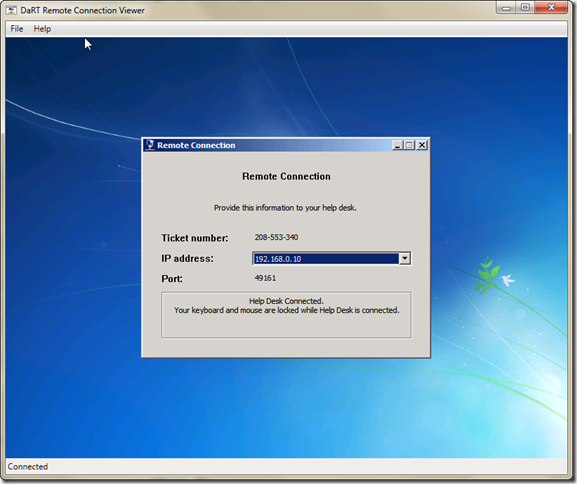
Save the newly created iso file and extract the wim from it and switch it into your recovery folder as I showed HERE. Now when you startup the PC by pressing F8 and selecting Repair this Computer the remote connection screen starts automatically as shown below. The end user only needs to supply the technician with the Ticket number, IP and Port and he can connect and repair the system.
 Note: If you cancel the remote connection screen at the local workstation, the script will continue as normal, prompting for a language selection and administrator password before launching the System Recovery Options Screen.
[...] Check this blog if you want to have DaRT automaticaly start Remote Connections [...]
ReplyDelete[...] Check this blog if you want to have DaRT automaticaly start Remote Connections [...]
ReplyDelete[...] Check this blog if you want to have DaRT automaticaly start Remote Connections [...]
ReplyDelete